
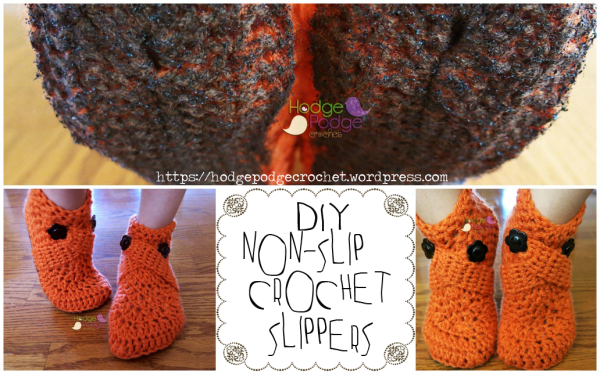
I’m SUPER excited to share with all of you my latest video tutorial update for the Cowboy Boot pattern! If you’d like to crochet with me, head on over to my Craftsy or Ravelry shops to download your FREE copy of this pattern and let’s get started!!


…..because crochet is what you live for.
I get asked a lot about crochet booties. I think it’s probably the number one thing that most crocheters silently drool over but don’t really tend to tackle until they have their basic crochet skill set nailed down. (You kinda have to make two identical shoes!!)
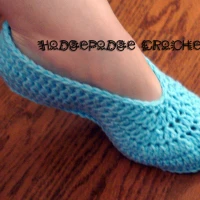
However, with such AMAZING slipper patterns by Mamachee * Crochet makes me happy! and Two Girls Patterns, most of us generally get to that point where you have FINALLY mastered your own pair only to find out what the pattern doesn’t mention is that, if you’re not careful, you’ll probably break your neck while using them as yarn tends to slide when covering feet….
So what can you do to save all that heartache from having two perfect slippers that you are too afraid to use? You get your craft on in the hardware section!
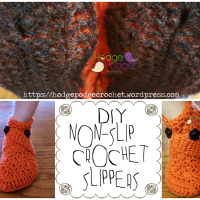
Let me introduce you to Plasti-Dip! For those of you who have no idea what this is, it’s pretty much rubber in an aerosol can!

This little can can transform dangerous crochet slippers into safe, skid-proof, ones in little less than a day. How? Glad you asked!
The first step is to make sure you’ve got a nice day outside because you absolutely can not spray this stuff inside your house. It’s toxic and can cause some seriously bad stuff if you spray inside in a confined area. So dedicate some outside space to spray and leave your slippers between coats.
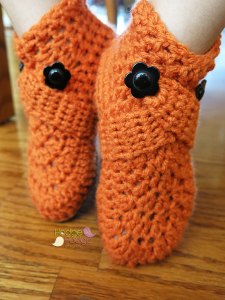
The next thing you will need is a pair of slippers! I chose to modify my own Child Slipper pattern but you can use this on any slipper at all and the results will always be the same.

 With your slippers in hand, cut out some cardboard insoles to protect the inside once you begin to spray on the rubber coating.
Insert the cardboard soles into your slippers and then carefully tape around the outside with some masking tape in order to keep the rubber coating confined to just the bottom of your slipper.

Once you are happy with it, it’s time to start spraying! This part can get messy so I recommend laying down some newspaper or an old cardboard box so that you don’t get rubber everywhere. Quick tip: if you do accidentally spray rubber onto something you didn’t want to get coated, you can peel it off once it’s dried completely, so don’t panic!
All that’s left to do is spray! Give the bottom of each slipper a nice even coating. Don’t go crazy because you will need to build up three or four coats in order to make this work. When you’re done, leave it to dry for about an hour and then go back and spray again. Repeat until you’ve gotten all of your coats done. If you are going to use these slippers a lot, use more coats. If they will be worn sporadically, use less coats. I wouldn’t go any less than three coats no matter how often the slippers will be used so keep that in mind when planning your attack!

One coat of Plasti-Dip applied.

Three coats of Plasti-Dip applied.
Once you let your last coat dry completely, you’re ready to use your new slippers and NOT break your head because of slippery yarn. The slippers are also washer safe but make sure you follow the laundering requirements of the yarn you are using!! Personally, I would skip the dryer and only line dry these.
Plasti-Dip also comes in red and CLEAR!! You don’t have to purchase it only in black but I kinda like the idea of a black sole because if your house is anything like mine…the soles will turn this color eventually.

You can pick up a can of Plasti-Dip over in Amazon and one can will last you through many slippers!


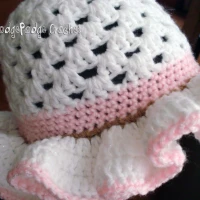
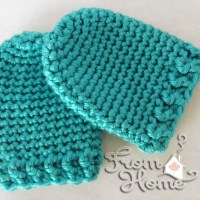
Welcome the companion to the Baby’s Best Bumpy Blanket! These sweet vintage-look booties are the perfect pairing because they are born of the same stitch!
You can find them for sale in any of my online shops and don’t forget to pick up a FREE copy of the Baby’s Best Bumpy Blanket while adding them to your cart!

So, you FINALLY got around to making that perfect pair of baby booties!! Congratulations on your accomplishment! I seriously consider baby booties a right of passage for any crocheter because they test your skill set like nothing else in crochet will (except maybe mittens–but we’ll save that for another post).
In order to be successful with baby booties you not only have to make ONE absolutely perfect, but then you have to replicate that to make a SECOND shoe identical to the first. It’s not as simple as it sounds–trust me on that.
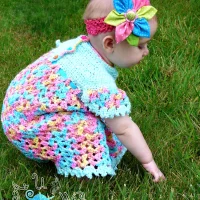
Sometimes you end up making that first shoe and things kinda go horribly wrong. Only, you don’t want to admit it to yourself (or anyone watching) so you plow on and end up with something like this:

If your shoes look anything like these, (twisting, curling, and even if they aren’t exactly both the same length) you CAN fix them–it just takes a little time…and a couple of wet paper towels.
If you hunt around the internet to learn about what it means to ‘block’ your crochet, you’ll get a lot of people telling you all sorts of things–like what kind of yarn will block, the method that works best for each type of yarn, what sort of fancy pins to buy, rubberized mats you need…and on and on and on. But I’m not that kind of crocheter (and I’m guessing the majority of us are the same way). I’m the kind that enjoys a challenge and tries to find the short cuts (and the cheapest way to do things) in order to yield the same results.
I’ve read a lot of things about acrylic yarn and how it’s pointless to even try to block it because it never works. Since the bulk of my projects are done in 100% acrylic yarn (like the booties above) most of my things never need help being blocked because acrylic yarn does a pretty good job of keeping its shape if you crochet it correctly.
But what happens in the case of booties is that they always need a little help (even if you are a world-class bootie crocheter–your booties ALWAYS need shaping. Don’t be fooled by those amazing photos plastered all over those patterns you love. Every shoe has been carefully shaped to get it to look the way it does and what you don’t see is the process that has been used to get that shoe to look the way it does in the pattern (cause if they snap a pic of it the way it looks right off your hook–you’d never buy the pattern!)
This is my process of blocking a shoe to make it look pattern photo-shoot ready!
Materials you’ll need are:
The Process:

Begin by deciding how many paper towels you’ll need for each shoe. Too many and they will stretch out your shoe; too few and when you pull them out your shoe won’t be blocked correctly and will still have problems–and then you might come back telling me it didn’t work. 😉
For my shoes I’ve used two full squares in each. That was enough to fill my shoe properly without overfilling it and stretching it out. Don’t worry too much about guessing correctly because you can always add in an extra sheet or take a sheet out later.
The next thing you’ll need to do is to wet the sheets thoroughly. I like to saturate mine in lukewarm water. Make sure there aren’t any dry spots left–they should be sopping wet–on your paper towels.
Ring them out so that they are wet but not dripping and then give them a tug so they are relatively flat again.

Next comes the fun part! Take one of your paper towels and fold in half. Insert the fold into the toe of the shoe and start shaping. The more time you take with this now, the better your shoe will look when you pull the paper towel back out later.
Once you have your toe shaped, stuff the rest of the paper towel into the rest of the shoe and shape the heel and sides. Once you are happy with the shape, repeat with the other shoe.


Now the only thing left to do is to leave your shoes to sit. They should remain untouched until your paper towels are BONE dry. You don’t want to remove them if there is any moisture remaining at all. That could take anywhere from 24 to 48 hours depending on your climate. Trust me on this–it’s well worth the wait! Especially if your booties needed help to begin with.
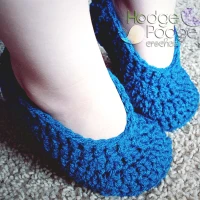
Once you’ve waited until your paper towels are completely dry, it’s safe to slip them out and revel in your perfect pair of baby booties!
By the way–NO camera tricks have been done here to enhance the shape of these booties. This photo was taken directly after sliding out the paper towels in my booties.

You can see that however I shaped them is exactly how they have remained after being blocked. (That is why the shaping part of this project is SO important).
Now that the process of blocking is finished, your shoes are ready to gift, photograph, sell, or put on your baby!
Quick tip: If you wash your booties, work the blocking process with DRY paper towels when they come out of the washer to keep the shape!
Blocking your baby shoes is a great trick to use when you tackle them and aren’t exactly happy with the finished results–or even if you are but want to get a dedicated right and left shoe!
If you’d like a simple shoe to get you started, I hope you’ll consider my Basic Baby Shoes pattern (This is the pattern I’ve used with the shoes shown in the photos throughout this tutorial to demonstrate this blocking technique with you).
If you’ve successfully used this tip with your shoes, I’d love to see them! Please head on over to my facebook page to share your pics with me!


Juniper Bay Skirt eBook: On Sale Now!


<div align="center"><a href="https://hodgepodgecrochet.wordpress.com/" title="HodgePodge Crochet" target="_blank"><img src="http://i4.photobucket.com/albums/y134/bushihat/button200x200_zps647f5e94.jpg" alt="HodgePodge Crochet" style="border:none;" /></a></div>
